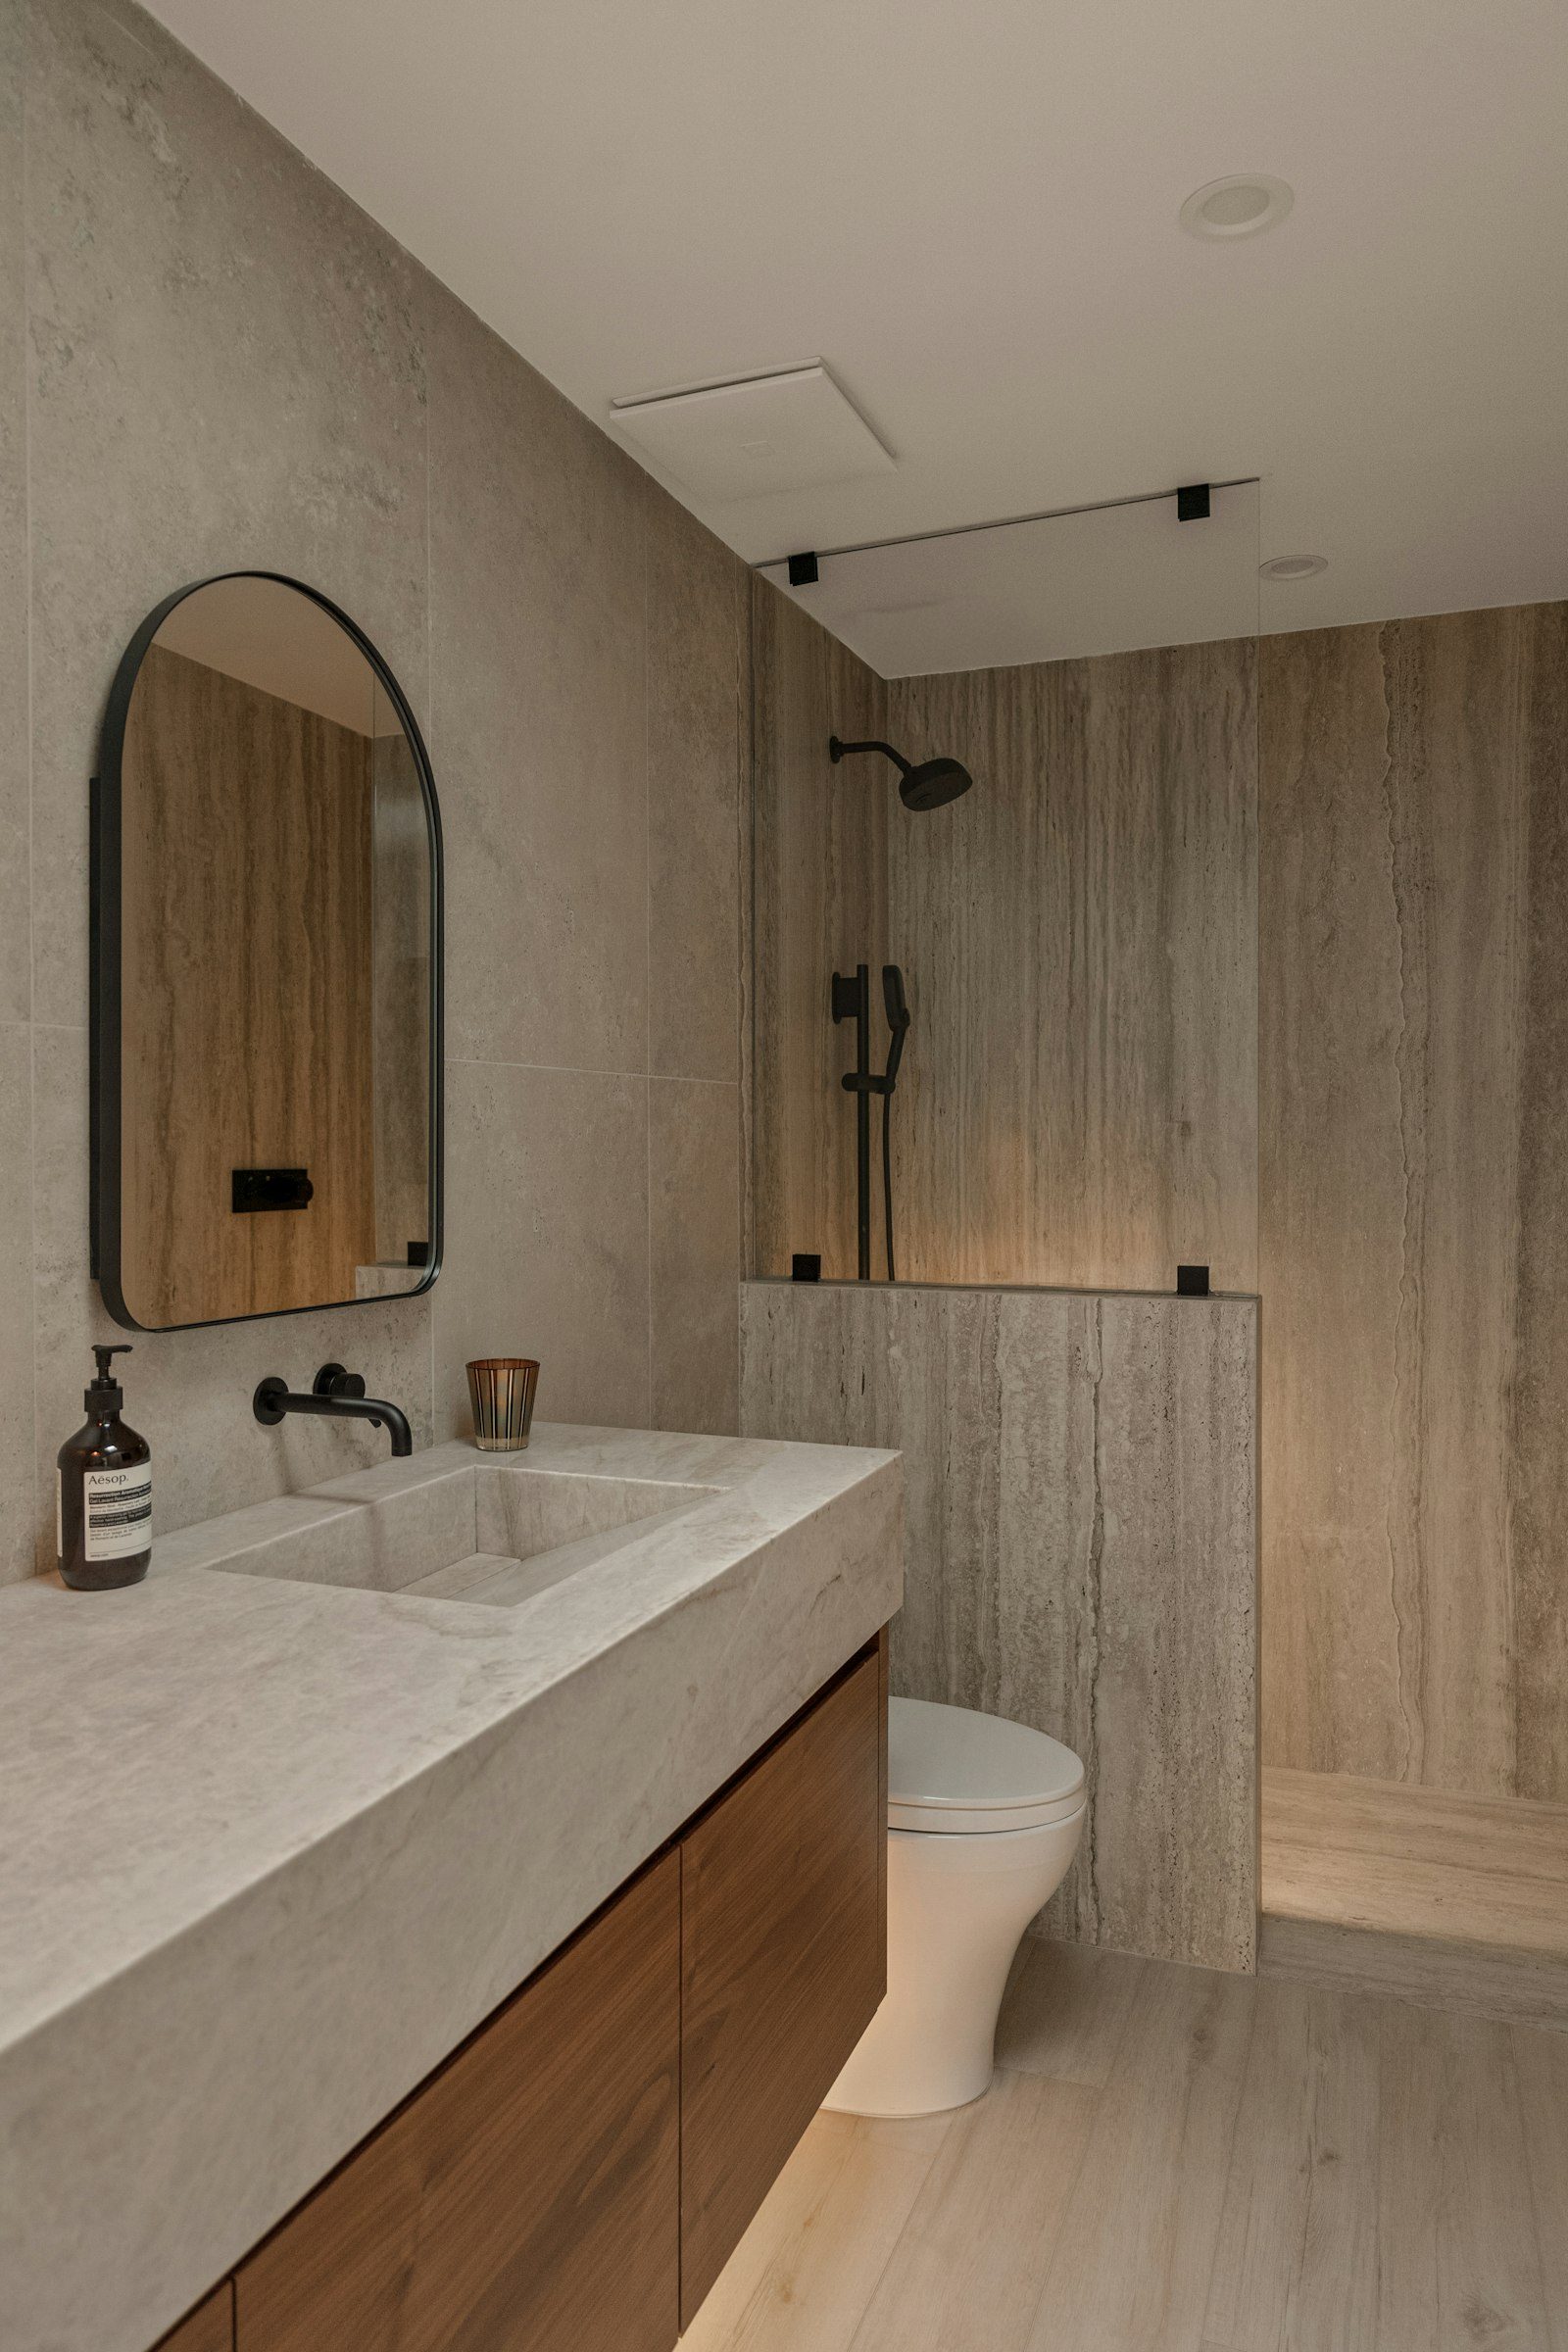
Why planning matters more than speed
Most people focus on how long the construction stage of a bathroom renovation will take. That matters, especially if you have only one bathroom. But the smoothest renovations are those where the planning before construction is thorough. Clear decisions, early selections and a realistic understanding of each stage prevent delays, avoid rushed choices and reduce stress.
This guide walks through a bathroom renovation from the first idea to the final handover, explaining what happens at each stage and what you can do to keep things moving. Every project differs, and timings depend on the size of the room, the condition of the structure, product lead times and the season, so treat this as a general framework.
Stage one: gathering ideas
Before you contact a renovator, spend time thinking about how you use your bathroom and what frustrates you about it now.
Questions to consider
- Who uses the bathroom, and when?
- Do you need a bath, or would a larger shower suit you better?
- Is storage adequate?
- Is the room cold, damp or dark?
- Are there accessibility needs now or likely in the future?
- What style do you like, and does it suit your home?
Gathering inspiration
Collect images of bathrooms you like, noting what appeals: colours, tiles, layout, lighting or fixtures. Visit showrooms to see and touch materials. Measure your bathroom roughly to understand its size.
Stage two: the design consultation
A design consultation at your home allows a renovator to see the room, measure it accurately and assess the structure and services. On our consultations, we look at:
- The floor structure, including the subfloor in homes on stumps.
- Plumbing positions, pipe materials and hot water system.
- Electrical provisions and switchboard capacity.
- Ventilation and window positions.
- Signs of water damage or mould.
- Access for materials and waste removal.
- Any materials that may need testing for asbestos.
We discuss your goals, priorities and ideas, and talk through layout options.
Stage three: the written scope
Following the consultation, you receive a written scope describing the work. A good scope covers:
- Demolition and removal.
- Structural repairs or allowances.
- Plumbing and electrical work.
- Waterproofing system and extent.
- Tiling areas and heights.
- Fixtures and fittings to be supplied and installed.
- Joinery, mirrors and accessories.
- Painting and finishing.
- Exclusions and assumptions.
- How hidden conditions will be handled.
- The expected sequence and duration.
Read it carefully, ask questions and make sure it reflects what you want.
Stage four: selections
Selections are often the stage that causes the most delays. Choosing tiles, tapware, vanity, toilet, shower screen, lighting, mirrors and accessories takes time, and some items have long lead times.
Tips for selections
- Make decisions before construction begins.
- Check stock availability and lead times.
- Order spare tiles from the same batch.
- Confirm dimensions of fixtures, especially vanities and baths.
- Check that tapware suits your water pressure, particularly on tank systems.
- Consider how finishes will look together in your own lighting.
We provide guidance on selections and help confirm that products are compatible with the design and the waterproofing system.
Stage five: pre-start preparation
Before work begins:
- Confirm the start date and the sequence of work.
- Arrange alternative bathing if the home has only one bathroom.
- Clear the bathroom and nearby areas of belongings.
- Plan access, parking and skip placement.
- Arrange asbestos testing and removal if required.
- Obtain any permits needed.
Stage six: demolition
The old bathroom is stripped out. This usually includes removing fixtures, tiles, linings and sometimes floor substrates. Demolition reveals the condition of the structure, plumbing and wiring. It is the stage when hidden problems are most likely to appear. We communicate any findings promptly and confirm changes in writing before proceeding.
Stage seven: structural work
If the floor or wall framing needs repair, it happens now. In homes on stumps, this might include restumping, replacing joists or adding support. Walls may be straightened, new framing added for niches or wall-hung fixtures and blocking installed for rails and accessories.
Stage eight: rough-in
Licensed plumbers and electricians install pipes, wastes and wiring within walls and floors. Positions for taps, showerheads, toilets, vanities, lights, fans and power points must be confirmed now, because changing them later is difficult. Exhaust fan ducting is installed. If underfloor heating is planned, its wiring and controls are prepared.
Stage nine: linings and substrates
Wet-area wall linings and floor substrates are installed. Insulation is added to external walls and ceilings where appropriate. In showers, falls are formed in screeds or substrates.
Stage ten: waterproofing and curing
The waterproofing membrane is installed in accordance with AS 3740. Curing takes time, and in Gippsland’s cold, damp winter months it can take considerably longer than in summer. Rushing this stage risks waterproofing failure. We photograph the membrane before tiling as a record.
Stage eleven: tiling
Tiles are laid on floors and walls, followed by grouting. Large-format tiles and intricate patterns take longer. Grout needs time to cure before the shower is used.
Stage twelve: fit-off
Plumbers and electricians return to install fixtures: toilet, vanity, basin, tapware, shower fittings, lights, exhaust fan, heated towel rail and power points. The shower screen is measured and installed, sometimes requiring a separate visit. Mirrors and accessories are fitted.
Stage thirteen: painting and finishing
Ceilings and walls outside the tiled areas are painted with bathroom-suitable paint. Silicone is applied at junctions, and doors and skirting are finished.
Stage fourteen: cleaning and handover
The bathroom is cleaned, and we walk through it with you. We explain how to use and care for fixtures and finishes and provide documentation, including waterproofing photographs.
Choosing the right time of year
There is no perfect season for a bathroom renovation, but each has trade-offs in West Gippsland.
Spring and summer
Warmer, drier weather helps membranes, adhesives and grouts cure faster, and open windows aid ventilation. Many people also find it easier to manage without a bathroom in warm weather. However, demand for trades peaks in these months, particularly before Christmas, so booking early is wise.
Autumn
Conditions are often mild and stable, making autumn a good time for renovations. Finishing before winter means you enjoy a warm, renovated bathroom through the cold months.
Winter
Winter projects are entirely possible, but curing takes longer, and gentle heating may be needed to help materials cure properly. Rural access can be affected by wet ground. The advantage is that trades may have more availability.
Coordinating with other home projects
If you are planning other work, such as restumping, rewiring, a new hot water system or a kitchen renovation, consider the sequence. Restumping should happen before the bathroom is tiled. A switchboard upgrade may be required for new bathroom circuits. A new hot water system should be sized for the new bathroom. Coordinating these projects avoids redoing work.
What you can do during construction
- Be available to answer questions, especially during demolition and rough-in.
- Visit at key stages, such as before linings go up, to confirm positions of fixtures and accessories.
- Keep children and pets away from the work area.
- Communicate any concerns promptly.
- Avoid making changes without discussing the impact on sequence and time.
Rough-in walkthrough
One of the most valuable moments to be involved is the rough-in walkthrough, before wall linings are installed. At this point, you can confirm the height of the showerhead, the position of the mixer, the location of niches and the height of the vanity and mirror. Small adjustments here are simple; after tiling, they are not. Bring tape measures, think about the heights of the people using the room and ask questions.
Handover documentation to keep
Keep a folder with your scope, product selections, warranties, care instructions, plumbing compliance certificates and waterproofing photographs. This record helps with maintenance, insurance and future sale of the home.
Typical delays and how to avoid them
- Late selections: make decisions early.
- Backordered products: check stock before work starts.
- Hidden conditions: allow some contingency in time.
- Weather: cold and wet weather slows curing.
- Changes during construction: keep changes to a minimum.
- Access problems: plan for deliveries and waste removal.
Planning an ensuite and main bathroom together
Some households renovate the main bathroom and ensuite at the same time to reduce overall disruption, while others stagger them so one bathroom always remains usable. Renovating both together can streamline trade visits and deliveries, but it leaves the home without a shower for a period. Staggering the work takes longer overall but keeps the household functioning. Consider your family’s routines, the number of people in the home and whether alternative facilities are available.
Planning a laundry with the bathroom
If the laundry is adjacent to the bathroom or shares plumbing, renovating both at once may make sense. It allows plumbing to be planned together, trades to complete both rooms in the same visits and finishes to be coordinated. Ask your renovator whether combining projects suits your home.
Communication through the project
Clear communication keeps a renovation on track. Agree at the start how updates will be shared, whether by phone, text or email, and who your main contact is. Ask for notice of key stages, especially demolition findings, rough-in and waterproofing. Keep a list of questions as they arise and raise them together rather than piecemeal, which helps trades stay focused on the work. Confirm any changes in writing so everyone has the same understanding of the scope and timing.
Living through the renovation
If you have only one bathroom, plan where you will shower and use the toilet during the most disruptive stages. Options include a temporary facility, a gym membership, staying with family or arranging the work around a holiday. Discuss timing with your renovator so you know when the bathroom will be unavailable.
A sample planning calendar
Many households find it helpful to work backwards from a target date. If you want to use the new bathroom before a family event, allow time for the consultation and scope, decisions on selections, ordering lead times, construction and curing, plus a margin for the unexpected. Write these stages on a calendar and agree key dates with your renovator. Mark when you need to make each decision, such as confirming tiles or approving the vanity drawing, so ordering is not delayed. A shared plan keeps everyone working to the same timetable and reduces the stress of last-minute choices. Review the calendar together at each milestone and adjust it openly if anything changes.
It also helps to think about the season. Winter rain can slow deliveries on rural roads and extend drying times, while the weeks before the holidays tend to be busy for suppliers. Building a little flexibility around these periods keeps the plan realistic and reduces pressure on everyone.
Book a design consultation
If you are planning a bathroom renovation in Warragul or the surrounding area, book a design consultation. We will help you plan each stage and provide a clear written scope with a realistic sequence.
Our bathroom services
- Accessible Bathrooms
- Full Bathroom Renovations
- Bathroom Resealing and Silicone Replacement
- Bathroom Tiling
- Ensuite Renovations
- Laundry Renovations
- Bath to Shower Conversions
- Shower Screens
- Small Bathroom Renovations
- Tile and Grout Cleaning
- Vanity Replacement
- Bathroom Waterproofing
Book a design consultation
Share a few details and we will visit to measure, check what sits behind the tiles and map out the options for your home.
Book a design consultation